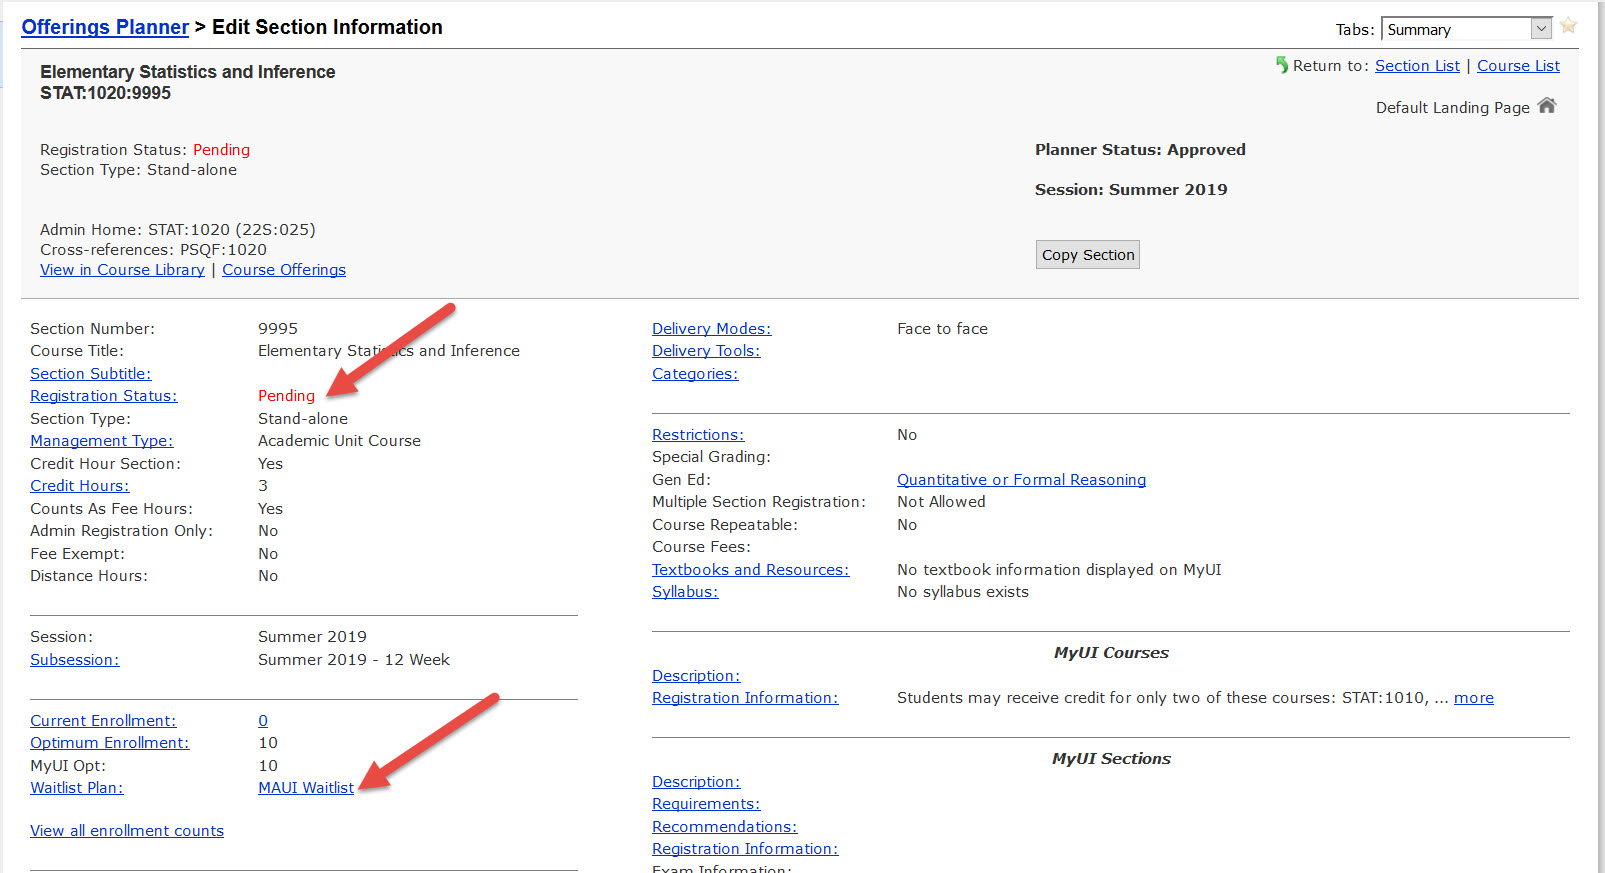
Step 1: Change Registration Status to Pending. Waitlist Plan should be set to MAUI Waitlist.
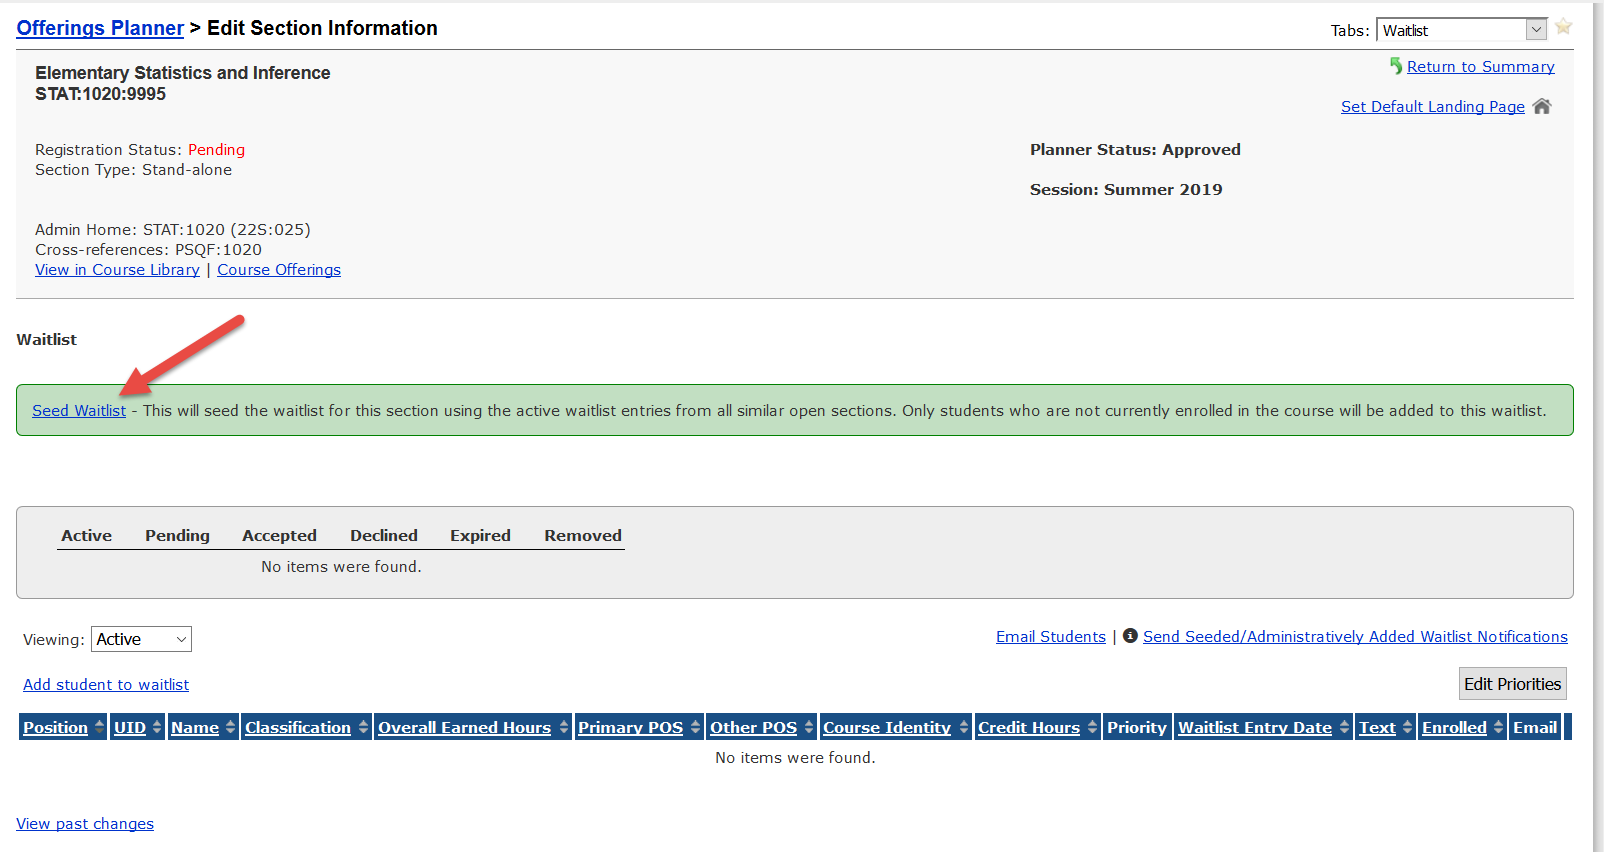
Step 2: On the Waitlist Panel click Seed Waitlist.
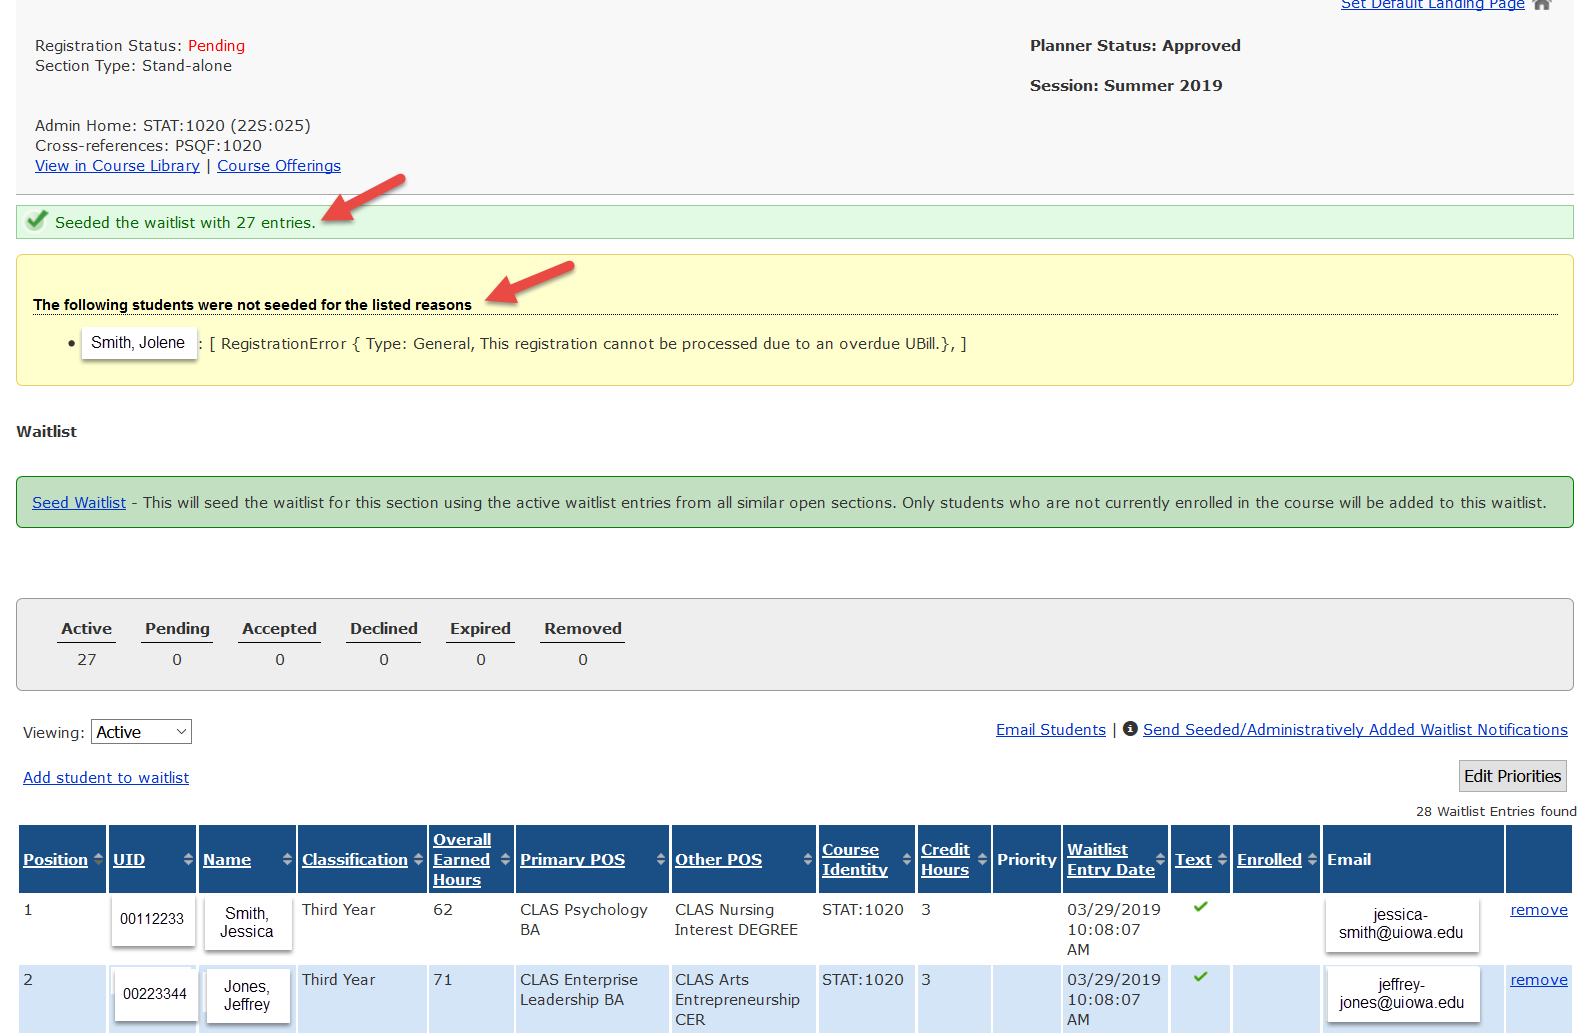
- Non-enrolled students on other waitlists for this course will be seeded according to original priority and then time stamp.
- Error message(s) will display if unable to seed student(s).
Step 3: Waitlist is seeded. Students are added to the seeded waitlist if they meet registration rules. The same rules apply as if the student were adding themselves to the waitlist. Error message will display for those not seeded.
Step 4: Review Seeded Waitlist. Make adjustments to students included on seeded waitlist, if needed. This includes prioritizing and removing students (if applicable.) Click here to view instructions for removing students from the waitlist.
Step 5: Send e-mail notification. Click on "Send Seeded/Administratively Added Waitlist Notification" link, which will trigger email/MyUI/text notifications.
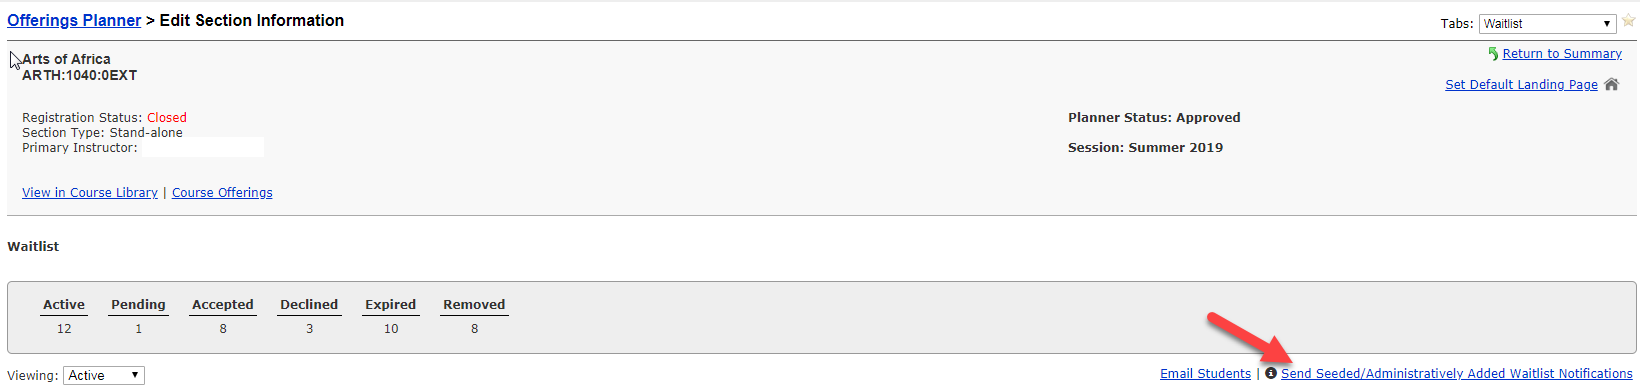
A green confirmation message will pop up indicating "A total of "X" students were notified."
Step 6: Change Registration Status to Open. Waitlist offers will be sent based on optimum enrollment count.